 Save
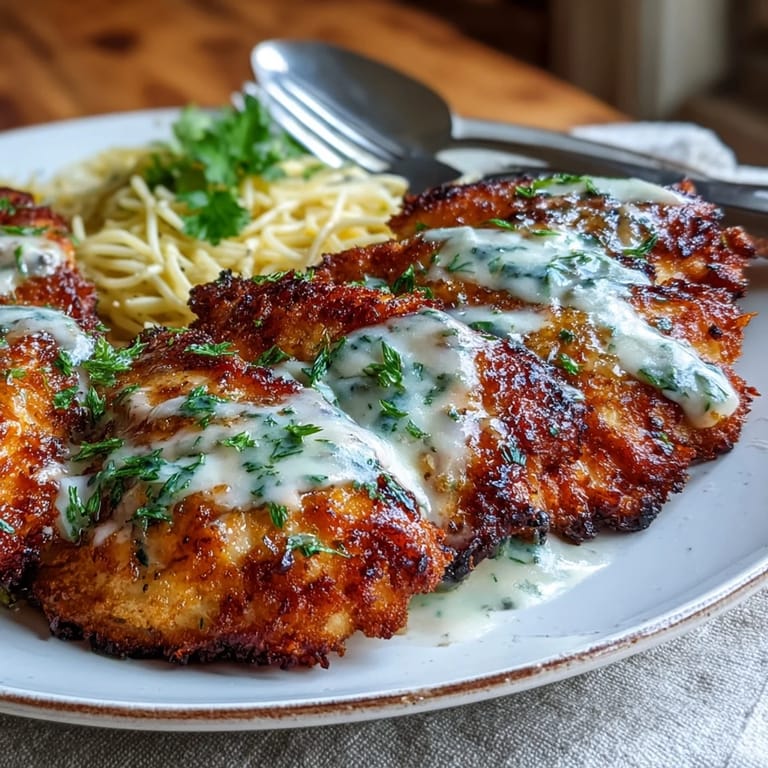
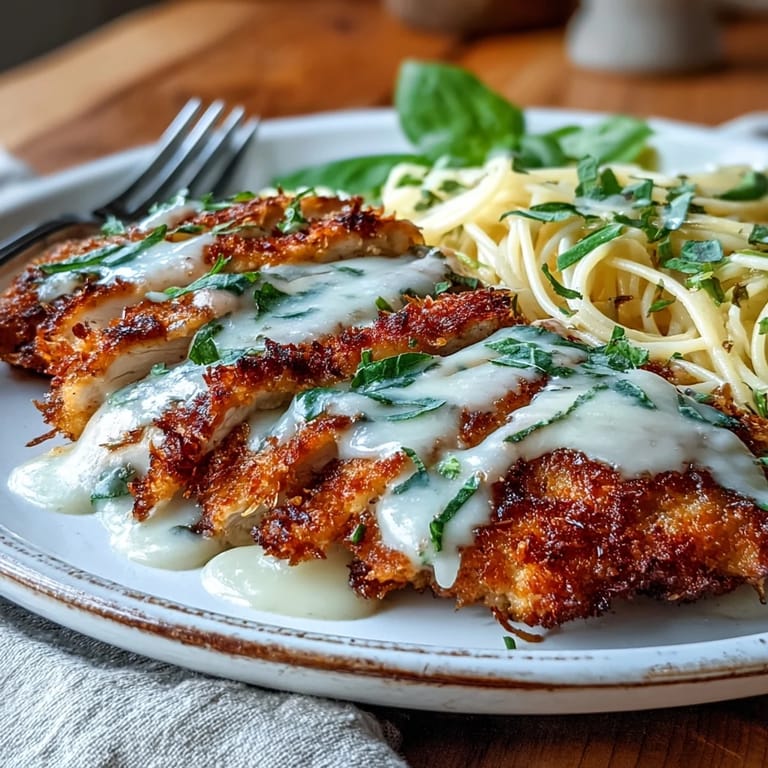
Save The kitchen filled with the most incredible aroma as the parmesan began to brown and crisp against the chicken. My husband wandered in from the living room, following his nose like a cartoon character, and asked what restaurant I was ordering from. When I told him I was actually cooking, he stood there watching the chicken turn golden in the pan, that gorgeous cheese crust forming something magical.
I first made this for a dinner party when I was terrified of cooking for other people but wanted to impress them. The silence that fell over the table as everyone took their first bite gave me this rush of confidence I had never felt in the kitchen before. Now it has become my go to when I want to make someone feel special without spending the entire day chained to the stove.
Ingredients
- Chicken breast: Pounding these into even cutlets is the secret to getting them cooked through without drying out
- Parmesan cheese: Freshly grated makes a huge difference here since it melts and crisps differently than the pre shredded stuff
- All purpose flour: This creates the base for your coating and helps the parmesan adhere perfectly to the chicken
- Eggs: Room temperature eggs will coat more evenly so try to remember to take them out ahead of time
- Garlic: Minced fresh garlic in both the egg mixture and the sauce gives you layers of flavor throughout
- Italian seasoning: This blend adds herb notes that complement without overwhelming the delicate lemon
- Unsalted butter: Using unsalted gives you complete control over the saltiness in your final sauce
- Lemon juice: Fresh squeezed really does make a difference here so avoid the bottled stuff if possible
- Chicken broth: This adds depth to the sauce and helps create that silky velvety texture
Tired of Takeout? 🥡
Get 10 meals you can make faster than delivery arrives. Seriously.
One email. No spam. Unsubscribe anytime.
Instructions
- Prep the chicken:
- Cut each breast lengthwise and pound gently between plastic wrap until even in thickness, about half an inch thick throughout
- Make your egg mixture:
- Whisk together the eggs, minced garlic, Italian seasoning, salt, and pepper in a shallow bowl until fully combined
- Combine coating ingredients:
- Mix the grated parmesan and flour in a separate bowl until the cheese is evenly distributed
- Coat the chicken:
- Dip each cutlet into the egg mixture letting excess drip off, then press firmly into the parmesan flour mixture
- Cook to golden perfection:
- Sauté in olive oil over medium heat for four to five minutes per side until golden and cooked through
- Whisk up the sauce:
- Melt butter with garlic, then stir in lemon juice, broth and pepper simmering for two minutes until slightly thickened
- Bring it all together:
- Arrange chicken on a platter and spoon that beautiful sauce over the top, turning to coat every piece
- Add the finishing touches:
- Garnish with fresh parsley and lemon slices if you want that extra pop of color and freshness
 Save
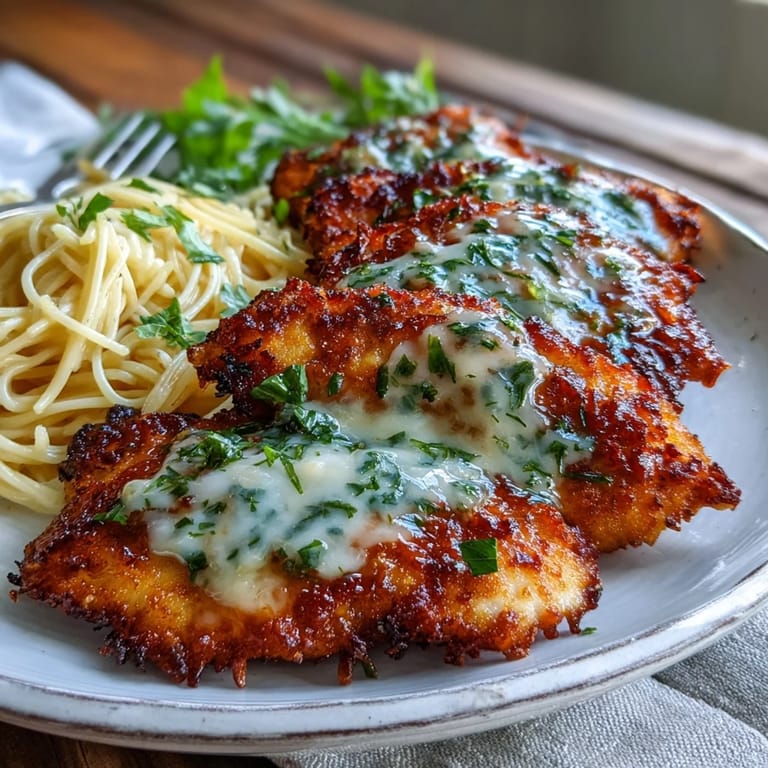
Save This recipe has become my daughters most requested birthday dinner and watching her face light up when she sees me pulling out the ingredients brings me so much joy. Food really does become woven into our memories and traditions in ways we never expect until we look back and realize these moments are the ones that matter most.
Making It Ahead
You can pound and coat the chicken up to four hours ahead, keeping it refrigerated on a parchment lined baking sheet until you are ready to cook. The sauce should be made fresh though since butter sauces do not reheat well without separating.
Serving Suggestions
I love serving this over angel hair pasta tossed with a little olive oil and garlic so the sauce can coat everything. Roasted potatoes or a simple green salad with a vinaigrette also work beautifully if you want to keep things lighter.
Wine Pairing
A crisp Pinot Grigio or Sauvignon Blanc cuts through the richness while complementing the lemon notes beautifully. The acidity balances the parmesan and butter without competing with the delicate flavors.
- Chill your wine for about twenty minutes before serving
- Pour a small glass for yourself while cooking to enjoy the process
- Save some wine to deglaze the pan for an even more flavorful sauce
 Save
Save There is something so satisfying about serving a dish that looks impressive but was actually straightforward to make. Enjoy those moments around the table where good food brings people together.
Recipe FAQs
- → How do I get the Parmesan coating to stick properly?
Pat the chicken completely dry before starting. Let excess egg mixture drip off, then press the Parmesan-flour mixture firmly onto each cutlet. This ensures an even, crispy coating that won't fall off during cooking.
- → Can I make this dish ahead of time?
Prepare the cutlets and coat them up to 4 hours ahead, refrigerating on a parchment-lined tray. Cook just before serving for best results. The sauce can be made ahead and gently reheated—add a splash of water if it thickens too much.
- → What sides pair well with this chicken?
Angel hair pasta tossed with olive oil and garlic, roasted garlic parmesan potatoes, or a crisp arugula salad with lemon vinaigrette complement the flavors beautifully. Steamed asparagus or green beans work well too.
- → How do I know when the chicken is done?
The chicken is ready when it reaches an internal temperature of 165°F (74°C). The coating should be golden-brown and crispy, and the juices should run clear when pierced. Let the chicken rest for 2-3 minutes before serving.
- → Can I use chicken thighs instead of breasts?
Boneless, skinless chicken thighs work wonderfully and stay juicier. Pound them to even thickness, increase cooking time to 5-6 minutes per side, and verify the internal temperature reaches 165°F before serving.
- → How can I make this gluten-free?
Substitute the all-purpose flour with a 1:1 gluten-free flour blend and ensure your chicken broth is certified gluten-free. The coating technique remains exactly the same.